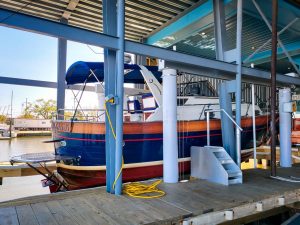
After a storm, it’s important to know how to safely inspect your boat lift and dock or seawall to make sure they are still in great shape. To help you make your inspections as thorough as possible, we created this guide. As a reminder, our recommendation is to remove your boat from the lift prior to any hurricane and store it safely on dry land. For more information on how to prepare for hurricane season, please consult our guide.
Turn Off the Power
Before you do anything, turn off the electric service to your dock and lift at the shore side electrical service panel. It would be a good idea to put lockout tags on the service panel so that no one accidentally turns the power back on while you are inspecting the dock and boat lift.
Assess the Dock or Seawall Structure

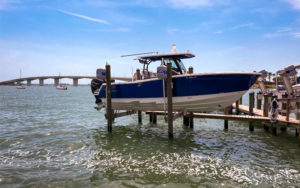
Your boat lift is only as strong as the underlying structure. It is very common for storms to damage or destroy docks. If there appears to be any damage to the dock structure, contact a professional marine contractor to make sure that it is safe to use.
When a seawall is built, marine engineers must take into account the pressure being exerted on a seawall by the water it is protecting the property from as well as the pressure exerted on the seawall by the land behind it. Maintaining the pressure balance is key to quality seawall construction. Many people would assume that seawall damage by hurricanes would be due to the surges of water coming toward the land, but that assumption is incorrect. Most seawall damage from hurricanes occurs when the water is driven out away from the land by the high winds. The pressure on the seawall from the land combined with the lack of support by the water on the other side of the seawall creates a pressure imbalance. This can cause a seawall to crack or even crumble.
Seawall damage may be hidden because the water often returns to normal levels before property owners are able to inspect the seawall. So even if your property wasn’t flooded during a hurricane, the storm could still have caused damage to your seawall. Please have your seawall inspected for damage by a professional marine contractor before attempting to use a boat lift attached to the seawall. It is better to err on the side of caution than to have your seawall collapse under the load of your boat.
Inspect the Electrical Connections
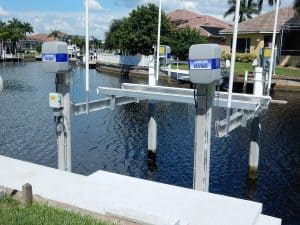
Look for any broken electrical cables that connect to the lift control box, the lift motors, lights on the dock and any other electrical components you may have on the dock. Pay special attention to any broken cables that are in the water as they are particularly dangerous. Also, look for any electrical cables that appear to be loose. Loose cables will have flopped around in the wind and may have broken the terminal connections or have broken internal strands. DO NOT turn on the power to your lift if the motors are suspected of having been underwater. If you notice any problems, contact a licensed electrician to assess and repair the electrical systems.
Look for Damage to the Lift Structure

After a storm, you’ll probably see a lot of debris lying around. Clear out any debris you see. Don’t forget to check for debris below and behind the boat. If your boat is full of water, DO NOT attempt to board. Try to clear the drain plug opening from land to drain the boat.
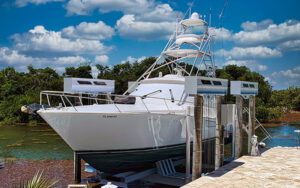
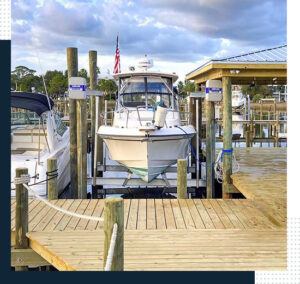
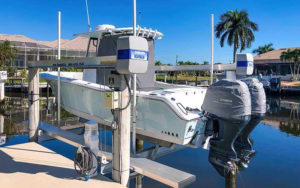
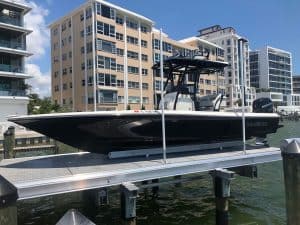
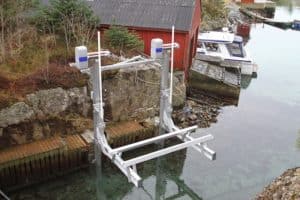
Inspect your lift for any signs of damage like bent or twisted beams, damaged drives or broken bunks. If your lift shifted because of the storm, the unit needs to be realigned and made square. On a four-pile lift, you can measure for square by comparing the diagonal pile to pile measurements. It is also possible that the lift cradle is out of square due to a combination of the bunk brackets shifting and the lift cables becoming misaligned in the grooved winders. Consult your installation manual for instructions on how to adjust these components.
Inspect all the hardware on the boat lift. Look for bent or damaged bolts and check that the fasteners are on tight and in good condition. If you notice any damage, we highly recommend having a marine contractor assess your lift for repairs.
Thoroughly Inspect the Lift Cables
After a storm, double and triple check your cables. Look for kinks and abrasions on the cable. Then, slowly run your hand over the cable to feel for frayed and broken strands. Ensure there are no areas that are questionable. If an issue is spotted, do not operate the lift until new cables have been installed.
Perform a Test Run
If everything on your dock and boat lift has checked out ok, it is time to turn the power back on. Try to run the lift up and down to test your control box, motors, and gearbox. If the lift doesn’t perform properly, check with your lift’s owners manual to make sure you’re operating your lift properly. It’s also helpful to use as a guide for troubleshooting any problems you encounter. If the lift motors and gearbox were submerged by saltwater, they will likely need to be replaced. If you can’t find the problem, have a trained service technician examine your lift to determine the cause of the problem.
No Power?
What if power has not been restored to your home and you want to operate your boat lift? Without power, raising or lowering the lift is a difficult process. You can use a generator to power the lift (see Safe generator use), however, most generators have a low starting torque and the lift power draw will bog down a generator if it is not sufficiently sized. Your typical 1800 watt portable generator will not cut it. Consult your installation manual to determine your lift’s power requirements. Another concern is re-wiring your lift. We recommend using a 220 Volt electrical cord (4 conductor) to bring power to the inputs at the control box and that plugs into the generator.
If no generator is available, it is possible to manually operate the lift. You will need to remove the covers and motors from the drives on both top beams. Next, you need to get an adaptor consisting of a 5/8” steel shaft with a 3/16” keyway to insert into the gearbox input. You can chuck this adaptor into a drill (please note that typical home drills only have a ½” chuck) and use it to raise or lower the lift. If you don’t have two drills with adaptors (one for each top beam) you will need to raise one side a little bit, then move to the other top beam to move it an equivalent amount.
Get High-Quality Lifts Today
At IMM Quality Boat Lifts, we are committed to building the best quality boat lifts on the market today. Our lifts are built to last a lifetime.
But more than that, we want you to enjoy being out on the water in your boat. We don’t want you wasting your time on maintenance, repairs, or even where to find the best boat shoes. Keep visiting our blog to learn all about the boating lifestyle and Boat Lifts


